 What happens when you want to take street photos but it’s almost night, you’re not using a tripod and don’t like to hug a traffic light to avoid camera shake?
Just that you get frustrated, bored, and a Zeiss 50mm/0.7constantly comes to you in your dreams.
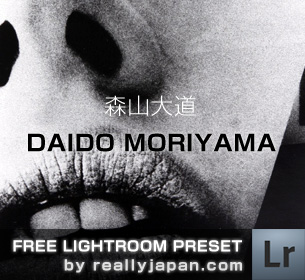
But don’t let that devil’s tool called tripod tempt you, there’s a solution to take photos at night, with high shutter speed and having a lot of fun. It’s called: The Daido Moriyama Kit by ReallyJapan.
First of all, Daido Moriyama is a Japanaese photographer I kinda like because his street photographs are gritty, harsh, raw, very analogish, punk in some way.
This style is pretty cool, and works pretty well with grainy, high iso shots.
Now, let’s open the DM Kit and let’s build the perfect low-light-fun machine, here’s what you need to do:
- Set your camera to RAW (so, couldn’t care less what you see in the display of your camera, it’s just for your pleasure, what you’re saving is the original, not processed raw image)
- Change the setting in your camera from the “better safe than sorry” color mode to Black and White, Highest Contrast, Highest Sharpness (we’re using RAW, so no worry)
- Set your ISO to anything between 1600 and H3/3200.
- Set your camera to Shutter Speed Priority
- Set exposure compensation to -0.3/-0.7 (to preserve the highlights)
- Set your shutter speed to 1/125 or 1/400 for super-speed shooting
- Go and act wild! Take photos of everything you see, don’t look through the viewfinder, just point the camera and shoot, shoot while walking, go fast, very fast!
I don’t know if that works for you, but for me it’s a really refreshing technique. As soon as I get too stressed trying to take good, non grainy shots, I turn on the Daido Moriyama style and I have a lot of fun.
Now, how do you process this shots?
Well, I’m gonna give you some presets for Lightroom! If you wonder how those presets look like, take a look of this shots in the photoblog:
How to install presets on Lightroom?
Click on Preferences, select Presets tab and click on Show Lightroom Presets Folder… button.
Uncompress the ZIP file, move the folder in the Lightroom Presets Folder/Develop Presets and relaunch Lightroom.
 In this Kit you’ll find 4 different presets I’m using often as a starting point to process my pictures with a “cinematic” look.


 Last
Last FriendFeed
 Twitter
 StumbleUpon
 Facebook
 Digg
Digg Delicious
 Youtube